Friday 28 March 2014

Time Art: Test shots (TIME FREEZE)

TIME ART: TIME FREEZE

Here you will find the test shots I have used in order to attempt my time freeze. Overall I had filmed over 20 test shots at different angles in order to find the most suitable angle. Here is three test shots that a have composed together.  


I understand that the angle is a bit of a high angle but when it comes to filming I will be using a more established, and level, long shot in order to capture my time freeze. 

Here is my time freeze practice. 


I did encounter some problems when composing my time freeze as the lighting in both footage was a touch different, as you can see from the video above. At first it didn't notice it at all until I was masking a path for the footage. Now that I have encountered this problem during my test shot stages I will make sure during the shoot that all lighting throughout is the same so I will not run into the same problem again. 

Choosing the footage

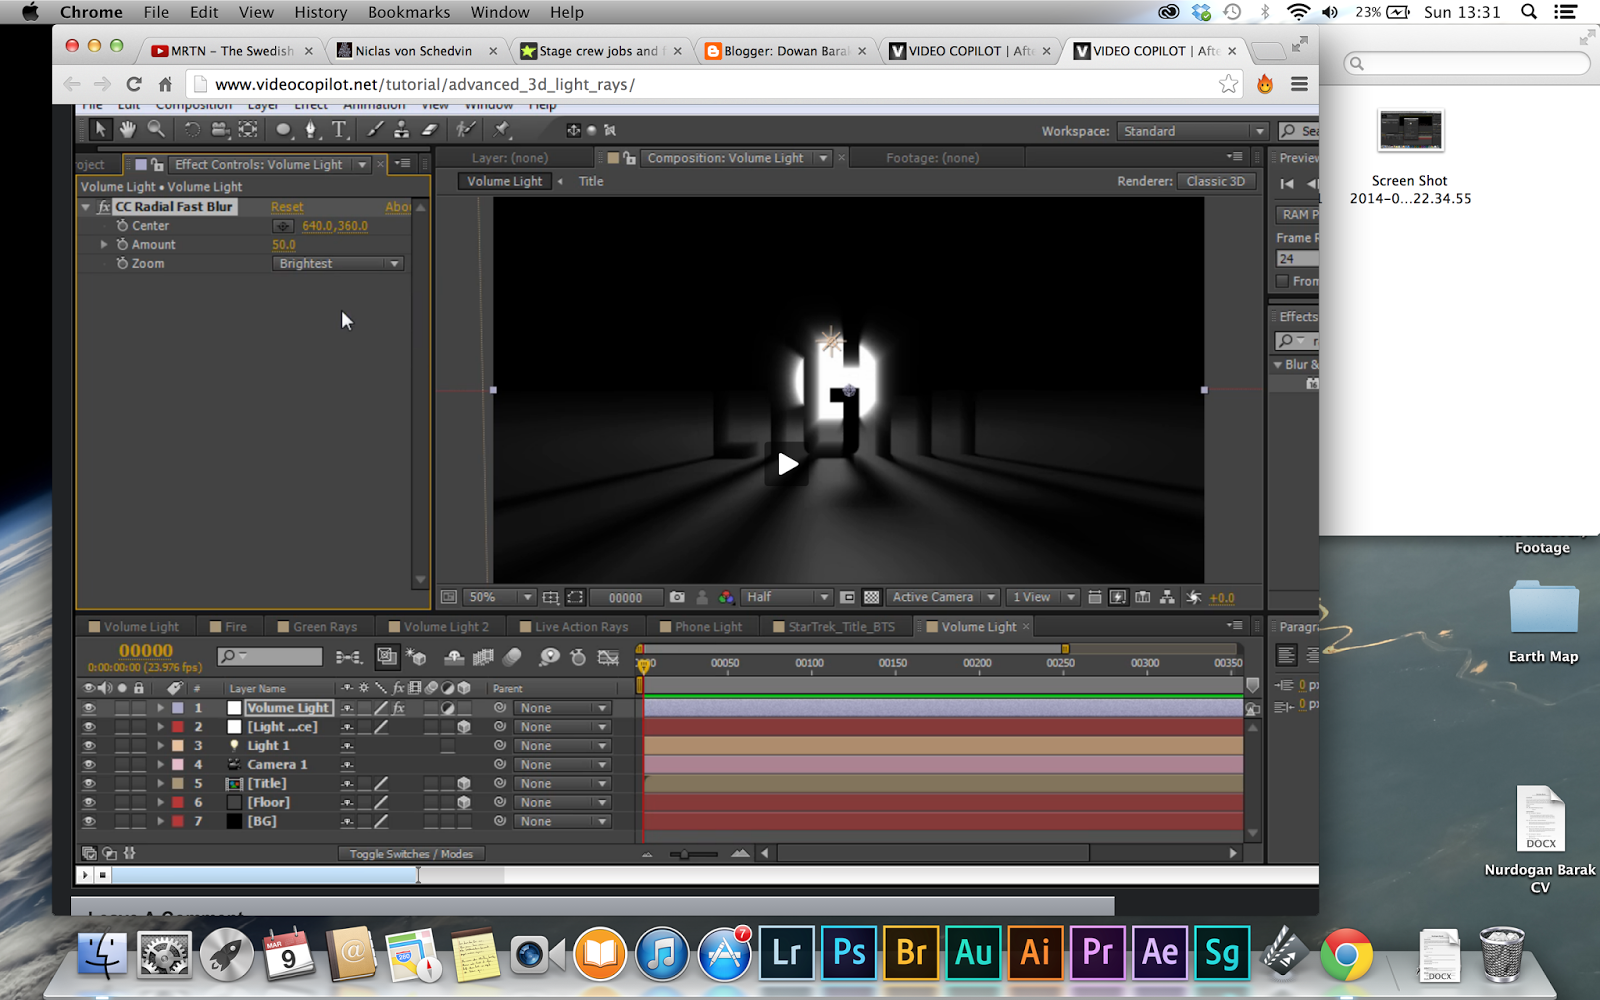
Watching the tutorial: Video CoPilot


Turning down the Opacity in order to find the point of the time freeze

Tutorial: VideoCopiot

Tutorial: Time Remapping

Enabling Time Remapping and adding keyframes

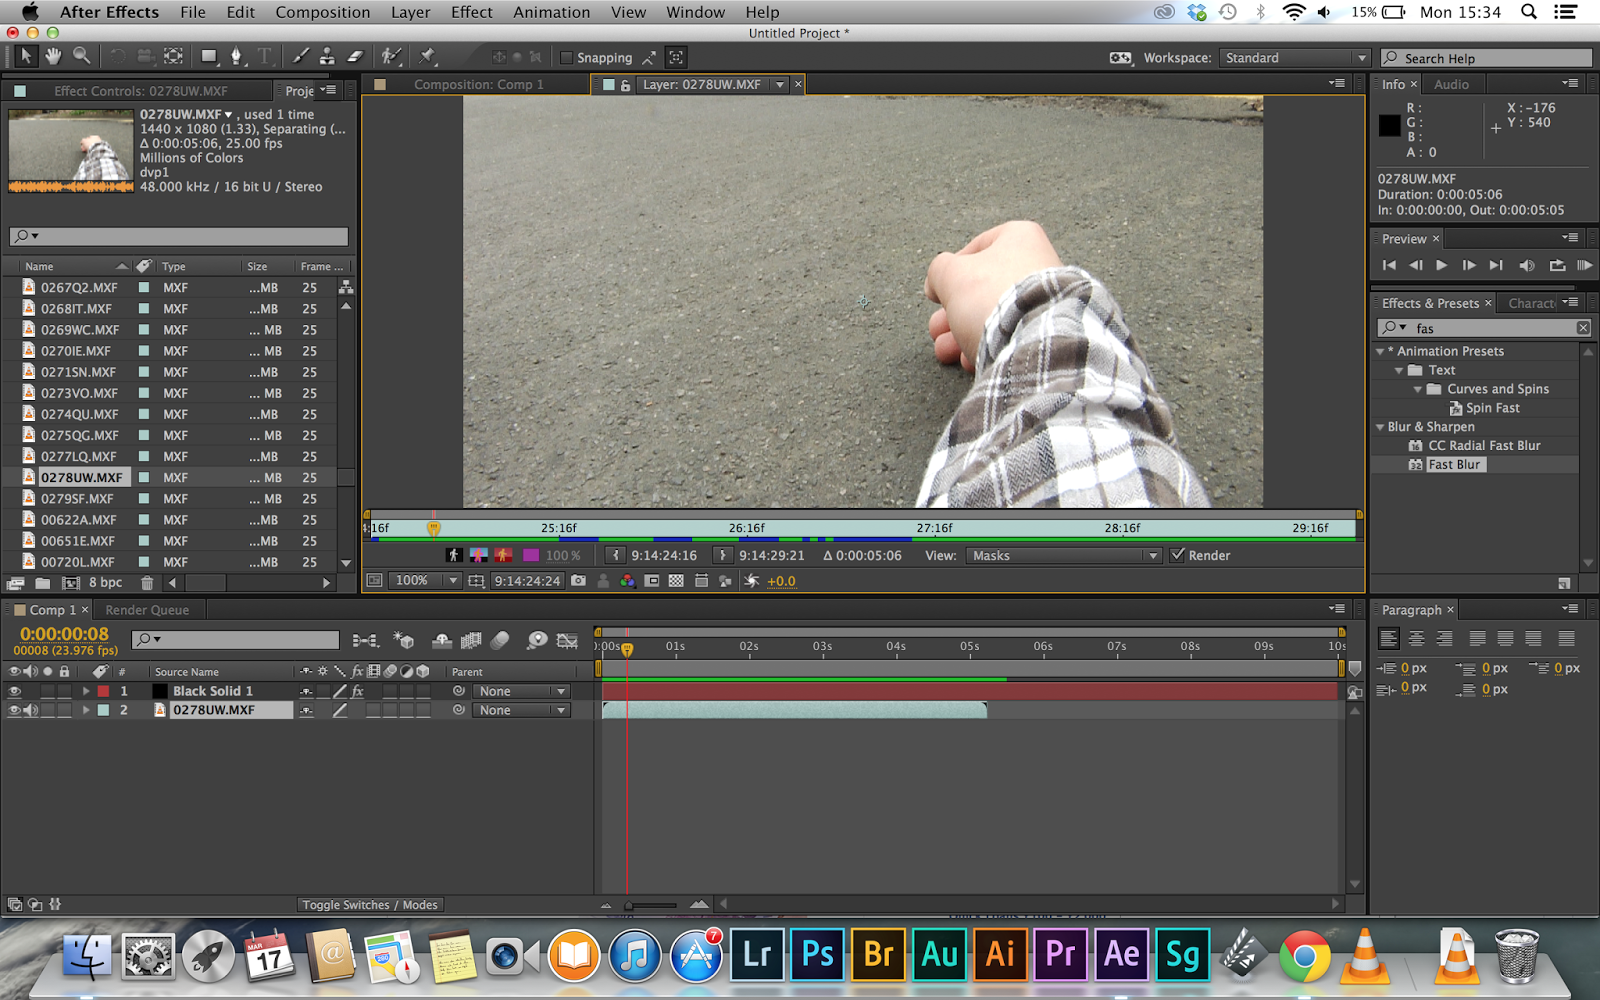
Once I have added the keyframe I started on rotoscoping 

Tutorial: Rotoscoping

More Rotoscoping

Rotoscoping finally finished

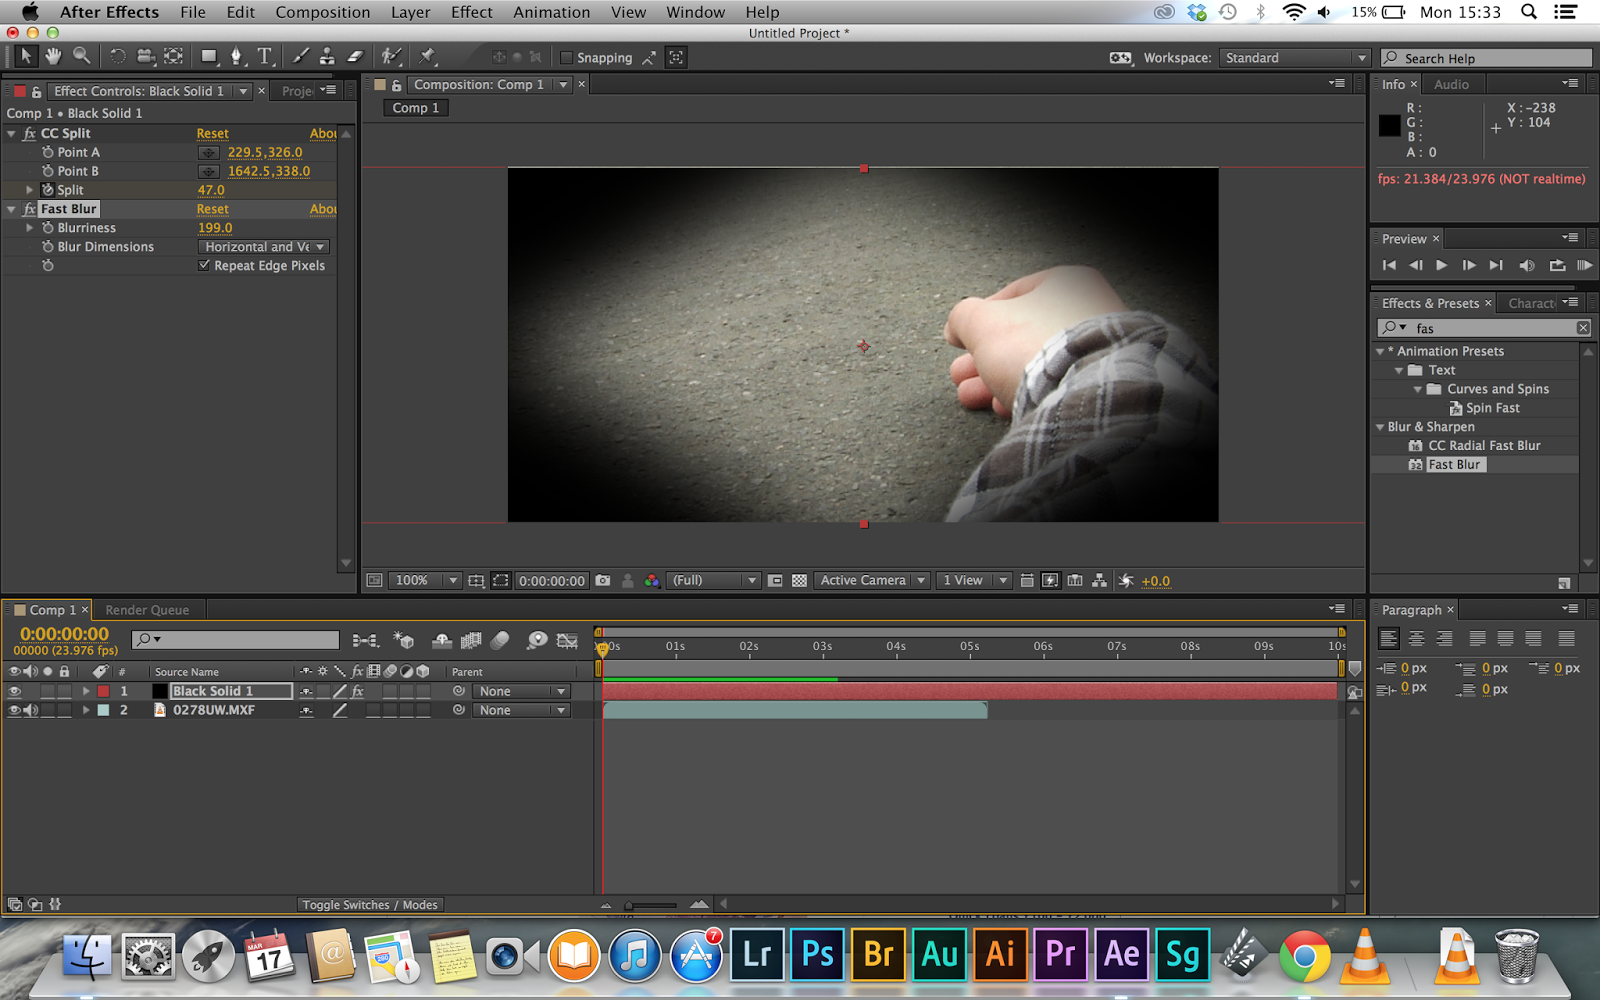
Added some mask expansion and some feather

Turn the Opacity back up and ready to mask the path of the second person

Masking the path
Even though it is not the best time freeze ever created by a undergraduate student I still enjoyed the process of it. I had learnt a lot in rotoscoping, time remapping and masking. Overall I know that I can approach this again with less mistake. 

I believe that my actual footage will be harder to edit due to there being more then two people in the footage all at once but it is an attempt I am willing to try. 

You can find the tutorial here: http://www.videocopilot.net/tutorial/time_freeze/

TIME ART: Location Recce

Time Art: Location Recce

One of the problems I encountered during the planning of my time art project was finding a location. The location had to be free from pedestrians and vehicles, so I can have a clear background, and contain minimal background movement.

Near the Farnham Maltings office there is a nice riverbank walkway, not many pedestrians walk across here, and it is long enough to use for all three scenes.


Tuesday 25 March 2014

REFLECTIONS: Motion Tracking

Now that our footage is nearly ready for some motion tracking I thought I should try it out for myself, get myself use to motion tracking, and see how hard it could be.

Here is what I have managed to create with some of the rushes from the shoot.


https://www.youtube.com/watch?v=UFVhGoQ3iJo 


At first it came around as a bit difficult but I started to get a bit more easier after each attempt. This is just an example of the motion tracking that is going to be used for our film. Now that I am getting the hang of motion tracking I will be producing more on our rushes. I will also be looking into more FX that will give our film a better look. 


Sunday 23 March 2014

SOUND EXPERIMENT: Work in progress


After presenting my work in progress, and not having any actual recordings to show, I decided to make a very rough mix of what my work will sound like. All the sound featured in my work was not recorded by me but taken from youtube. I will not be taking sound effects from youtube for my final piece. My final piece will feature sounds that is all recorded via the foley recording studio and roland recorder.

Producing a rough sound mix allowed me to experiment with different sounds, practice using audition and get a rough idea of what my sound piece will sound like.

Overall here is what I have managed to create. There is a lot of major sounds still missing from it as I could not find all of the sounds I needed. Overall my final piece will sound different.

This is what I have so far


Thursday 20 March 2014

Sound Experiment: Recording my Idea

I haven't had much time to work on my sound experiment, due to other assignments and no inspiration, however after a few days of brainstorming with the help of inspiration I have come up with an idea.

The whole concept of the idea consist of one mans journey as he takes a walk, with extreme bad luck, and encounters something he never wanted to see.

Here is a list of sounds that I have been looking into that will make up the story.
  • FOOTSTEPS - different terrains 
  • BUZZING - insect buzzing e.g. fly or bee 
  • SWOOSHING 
  • BUMP - 
  • TALKING 
  • BIKE CHAIN 
  • BIKE WHEEL 
  • BIKE BELL 
  • PANTING 
  • SHOUTING 
  • IRON RAILS - someone climbing iron rails 
  • BUZZING - electrical buzzing
  • ELECTRIC CRACKLE
  • WHOOSHING 
  • IMPACT 
I don't want to reveal the story so I have only posted what sounds my idea will compose of. I want the audience that will be listening to my piece to really think on what is actually happening. 

I will be using outside locations and the foley recording studio to capture all of the sounds needed to compose the story.


Monday 17 March 2014

REFLECTIONS: FX practice. Editing.

Now that shooting is complete we can move onto post production, where one of my roles is to produce and create special effects for our film, and to help with getting the hang of After effects I have been creating rough FX to the footage we have captured.


I had used the same techniques, as posted in the previous posts, and created the P.O.V blink. This is just a rough as I am still playing around with some of the footage in order to get the FX looking at its best.


Screenshot: P.O.V Footage captured from production
Screenshot: Added a black solid to the comp. Added the CC Split effect and Fast blur. 


Sunday 9 March 2014

TIME ART: After Effects Tutorial Fail

After a successful tutorial session I decided to attempt another tutorial on VideoCopilot, in which I had flopped half way through the tutorial, and I wasn't to sure on how or where I had gone wrong but I will attempt to succeed my next attempt on this tutorial

http://www.videocopilot.net/tutorials/advanced_3d_light_rays/

As you can see from the link above this tutorial was to create a 3d light ray that will beam through a 3d text.

Adding text

"The Recovery" Current title for my Reflections project 

Adding a dark grey solid to act as a floor.

Adding a point light into the composition. 

The light source doesn't seem to beam through the text for some reason. 

As I continued through the tutorial I had noticed that my light source and text wasn't appearing to look the same as it did in the tutorial.

VideoCopilot Tutorial. How it should look.

As you can see from the above screenshot. My piece looks completely different compared to what we can see in the tutorial. It has something to do with the shadows that are being casted by the light, and at first I thought it could be the font I was using. After playing around with different fonts I noticed that it still wasn't working so I decided to redo the whole tutorial but still I achieved the same result.

If any one has attempted this tutorial or knows why mine is coming out completely wrong, please let me know. Thanks.


Thursday 6 March 2014

TIME ART: After Effects Tutorial - Earth

Yesterday night I was browsing through Video CoPilot in order to practice using AfterEffects.
I found a tutorial that shows you how to create a cool Earth, adding atmosphere, rotation and lighting.

http://www.videocopilot.net/tutorials/the_blue_planet/

Here is some of the screenshots of the process I had taken and the finished edit below.

Screenshot: Adjusting the light direction, height, intensity and colour

Screenshot: VideoCoPilot Tutorial 

Screenshot: Adding glow to the master Earth

Screenshot: Adding a white solid as part of the lighting that will appear behind Earth. 

Screenshot: Adding a glow to the white solid and playing with the Threshold, radius and intensity. 

Screenshot: VideoCoPilot Tutorial.

Screenshot: Adding a lens flare effect.

Screenshot: Placing the lens flare behind Earth and adjusting the colour correction. 


Here is the finished edit. In terms of quality the footage had to be converted just to post it on here, therefore some quality has been lost.